Accessing eSP from within the GP Practice:
-
Log in to your GP clinical system.
-
Open the patient for whom you would like to create a shared plan.
-
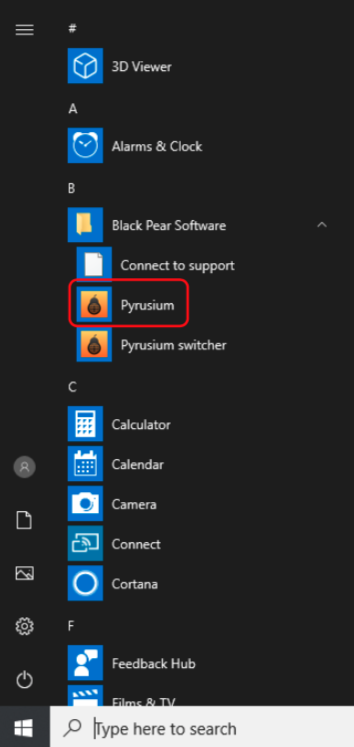
Open Pyrusium from the start menu
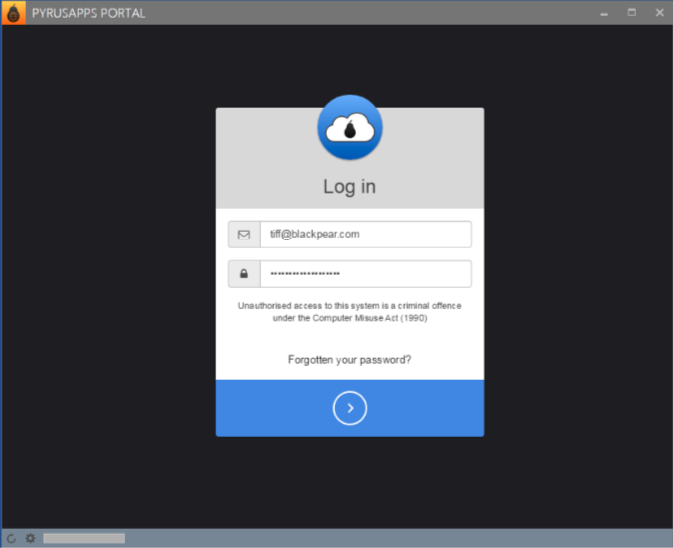
The first time you do this, you will be prompted to log in using your Black Pear licensing credentials. After the first time, you will be logged in automatically as your credentials attach to your clinical system login:
4. You will see a landing page. Select the appropriate app:
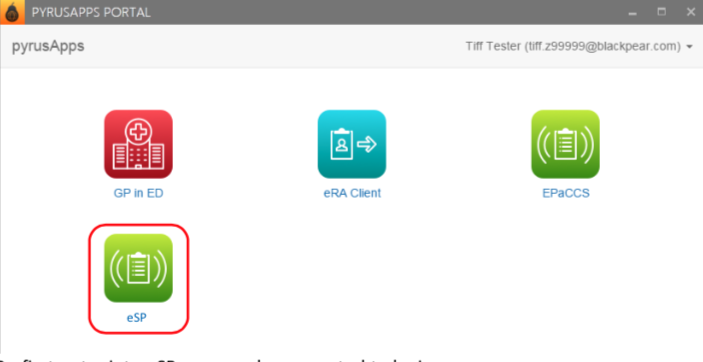
5. On first entry into eSP you may be prompted to login.
6. On entry into eSP, the app will pick up the currently open patient within the GP clinical system.
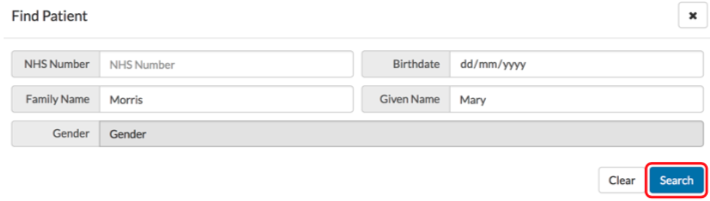
Alternatively, click on the “Find Patient’ button to search for the required patient:
Enter patient details for the record you wish to retrieve and then click ‘Search’:
7. A list of patients that satisfy the search criteria will be displayed. Select the required patient from the list:

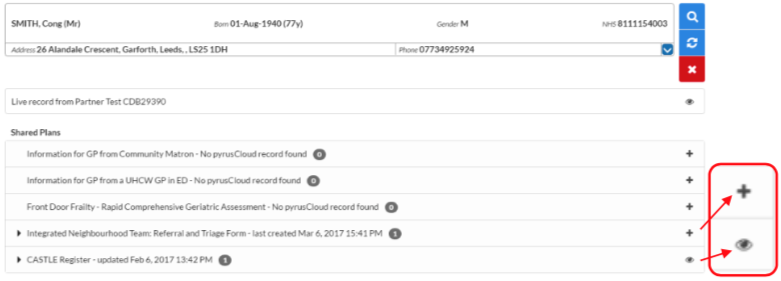
8. A list of available shared plans for the service will be displayed. Next to each of the shared plans, is a number indicating the number of forms there are for a particular plan type. Please note, End of Life plans will only ever have one plan with all carers contributing to the same plan. Where there are no plans, click the + button to create a new plan or click the ‘eye’ button to amend or view an existing plan:
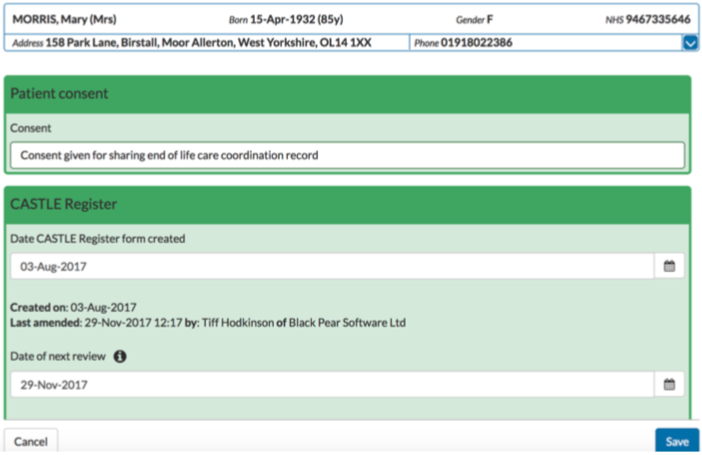
9. The appropriate form will display. In the example below, the following information is given:
-
patient consent
-
date the plan was created
-
who last amended the plan
-
date of next review
10. On creation of a new form for a new patient, you will be presented with a dialogue box requesting that you complete mandatory fields (in this case 3 mandatory fields):
 11. In the example below, patient consent was already recorded in the patient’s record and has been automatically imported. You are therefore asked to complete the second mandatory field i.e. the primary end of life diagnosis.

12. The third field that is presented for completion is optional so if that information is not available at this point in time, click the Cancel button on the subform.

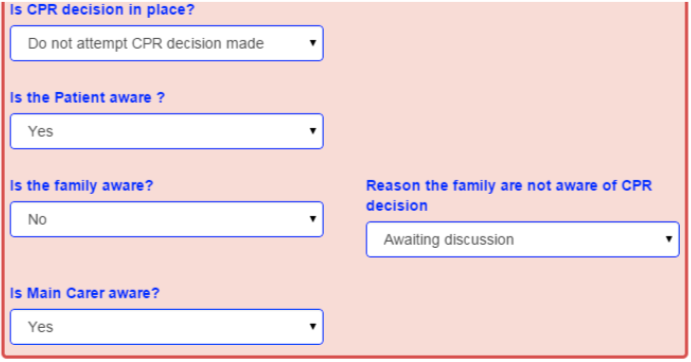
13. After completion of the suggested fields, the full form will be presented. Choose the sections you wish to complete, saving the sub-forms as required. After you have entered the information you wish to enter, click the Save button at the bottom of the form.
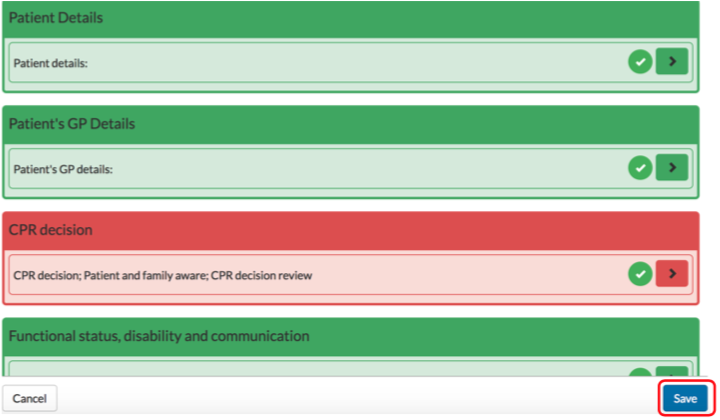
14. Click ‘Save’ to save the document back to the clinical system and to the central repository. Wait until you see both sections turn green.

15. Where possible a PDF entry is written back to the clinical system with a specified selection of Read codes (these will vary from plan to plan and area to area):
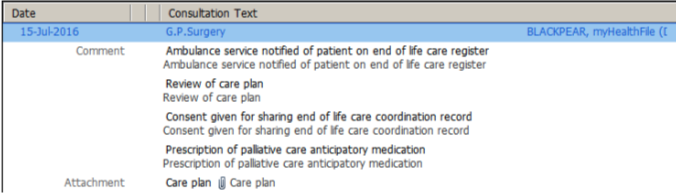
On saving to the central repository, where appropriate, information will be made available within third party solutions such as Adastra in Out of Hours/NHS 111. For end of life care plans, ambulance forms may also be automatically generated and emailed to ambulance services (NB: Check with your local EPaCCS Project Manager).
16. This is a sample screenshot of how the care plan displays in Adastra:

Accessing eSP outside of GP Practices:
-
Currently only available within N3 endpoints, other Health Care Professionals can access the shared plans by browsing within a modern browser (e.g. IE v10+, Chrome) to https://pyrusapps.blackpear.com
2. Log in with your Black Pear credentials: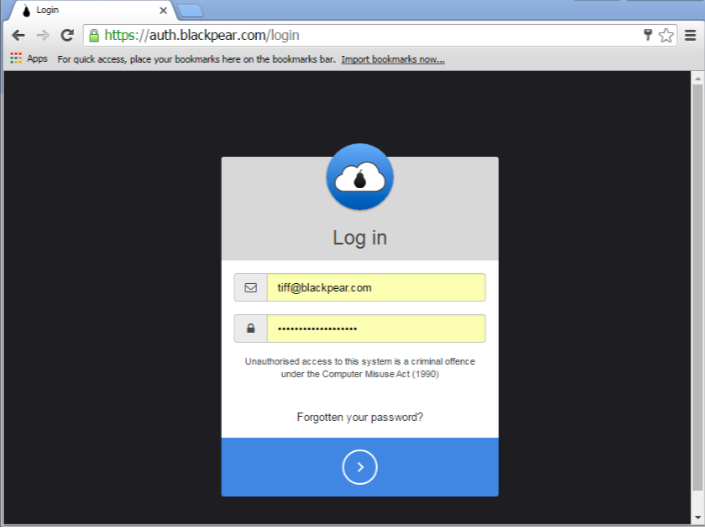
3. Once logged in, functionality to view and amend records is as per the GP practices. On saving the records, the information is saved to the central repository and a notification is sent back to the GP Practice to review the changes and accept back to the GP record.
To accept amendments back into a GP record:
1. Where HCPs outside of the GP practice have made amendments, a nominated email address will receive a notification to indicate that a record has been adjusted.
2. On receipt of this email, open the main clinical system (if not already open) and then open Pyrusium. At the top of the screen, there will be message saying there are records to be reviewed:

3. Click on “Click here” to display the list of amended records. Click on the Review button:

4. Amendments made to the form will be displayed by a blue tick:

Click on the arrow to open the sub form and review the changed data.
The changes are highlighted in blue.
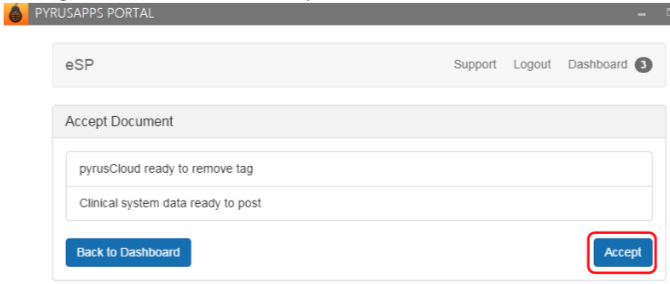
5. After viewing the changes, exit the form by clicking the Done button. Click the Accept button to save the changes back to the main clinical system:
0 Comments